Dance Floors
Dance Floors
Dance Floors
Dance Floors
Dance Floors
Dance Floors
Dance Floors
Dance Floors
Dance Floors
Dance Floors
Dance Floors
Dance Floors
Dance Floors
Dance Floors
Dance Floors
Dance Floors
Dance Floors
Dance Floors
Dance Floors

Dance Floors

SESXLMA-12


Regular price$11.99
/
  • Easily Create a Virtually Seamless Dance Floor
  • Perfect for temporary of long term installation
  • Lightweight and portable with PowerLock™ technology

Heavy item handling surcharge applied and pPlease note that a minimum order quantity applies at checkout for this item.

Indoor or outdoor, our Dance Floors with a waterproof wood grain surface are your perfect choice.

Lightweight, easy-to-install, and featuring interlocking edges for stability, these tiles provide a safe, high-traction surface that's ideal for dance or fitness studios. 

12" x 12" tiles comes with No walk peg bottom
Ideal for outdoors base like grass or sand.
This can also be used for thick, padded carpets

18" x 18" and 36" x 36" tiles come with grid bottoms
Ideal in thin carpet and over concrete/hardwood floor

We custom peg bases for 36” x 36” panels with 1-2 week lead times.
For more info, please call us at 604-628-7791 or email us at sales@canadamats.ca

Weight

12"x12" - 2 lbs

18"x18" - 4 lbs

36"x36" - 16 lbs

Face Style Simulated Maple Wood Grain
Edging Optional Ramp
Sizes Available

31cm (12") x 31cm (12")

46cm (18") x 46cm (18")

92cm (36") x 92cm (36")


  • Dance Floors
  • Gyms
  • Stage
  • Outdoor Events
  • Lightweight and Easy to Carry
  • Weather Proof
  • Easy to Install
  • Customizable
  • Easy to clean and maintain
  • PowerLock interlocking technology
  • 12-Year manufacturer’s warranty


For optimal tile preservation, adhere to best practices by storing them horizontally indoors in a temperature controlled environments.

Avoid placing tiles on their sides, as improper storage can lead to significant damage.

Follow these guidelines to ensure they stay in good shape for a long time.

To be able to best assist you and make a recommendation on the right dance floor size and style
for your application, we kindly ask that you answer the following questions:
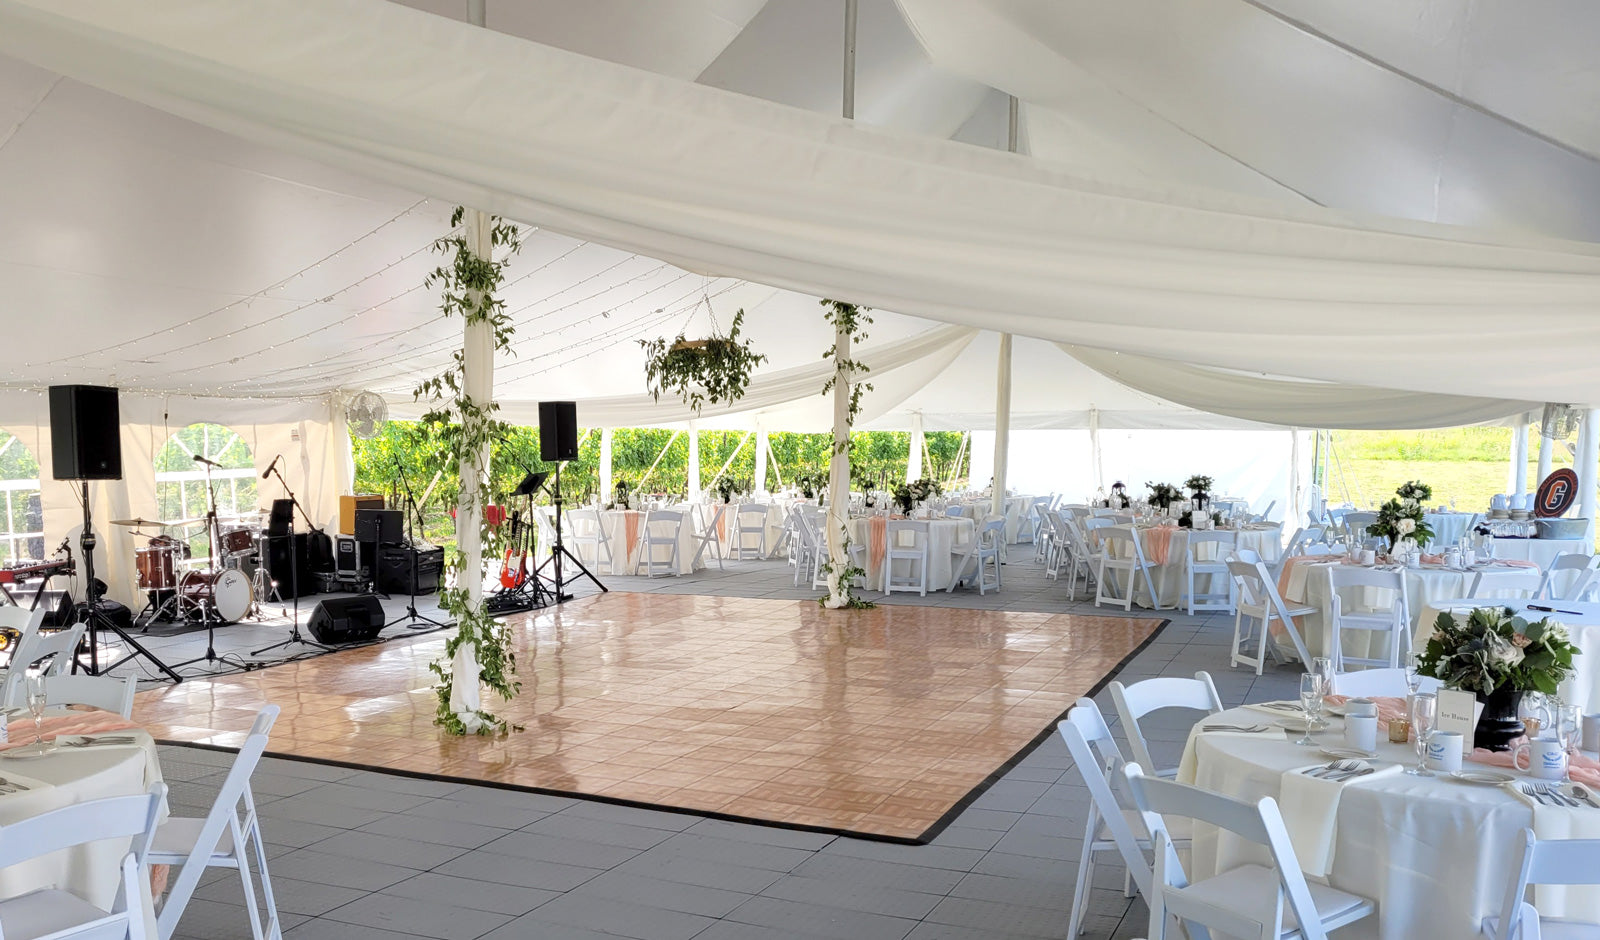
What is the primary purpose of the dance floor? Is it intended for social events,
weddings, parties, or other specific occasions?
How many people do you hope to be able to accommodate at once?
Do you have a size in mind? If so, what are the dimensions (length x width)?
Will it be a permanent fixture or a portable/adjustable one?
Will the dance floor be used indoors or outdoors? Or both?
What kind of surface will this be going over?
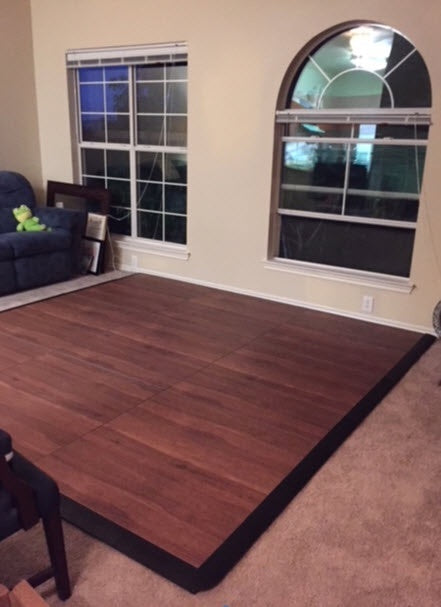
If it will be going over carpet, what type of carpet (thin/firm, thick/plush)?
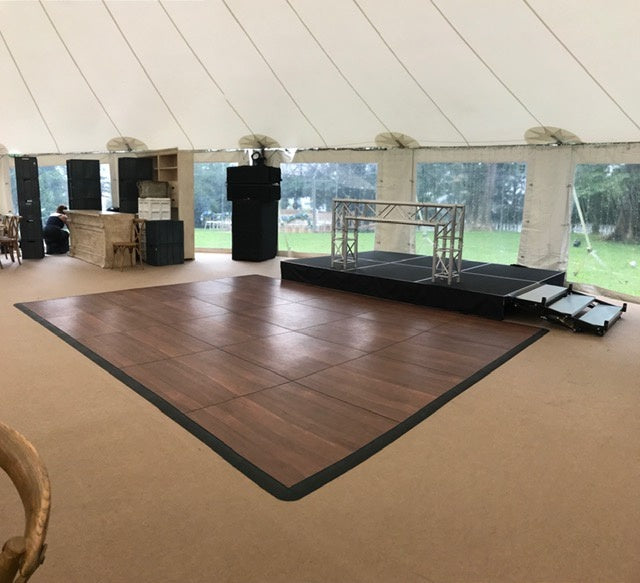
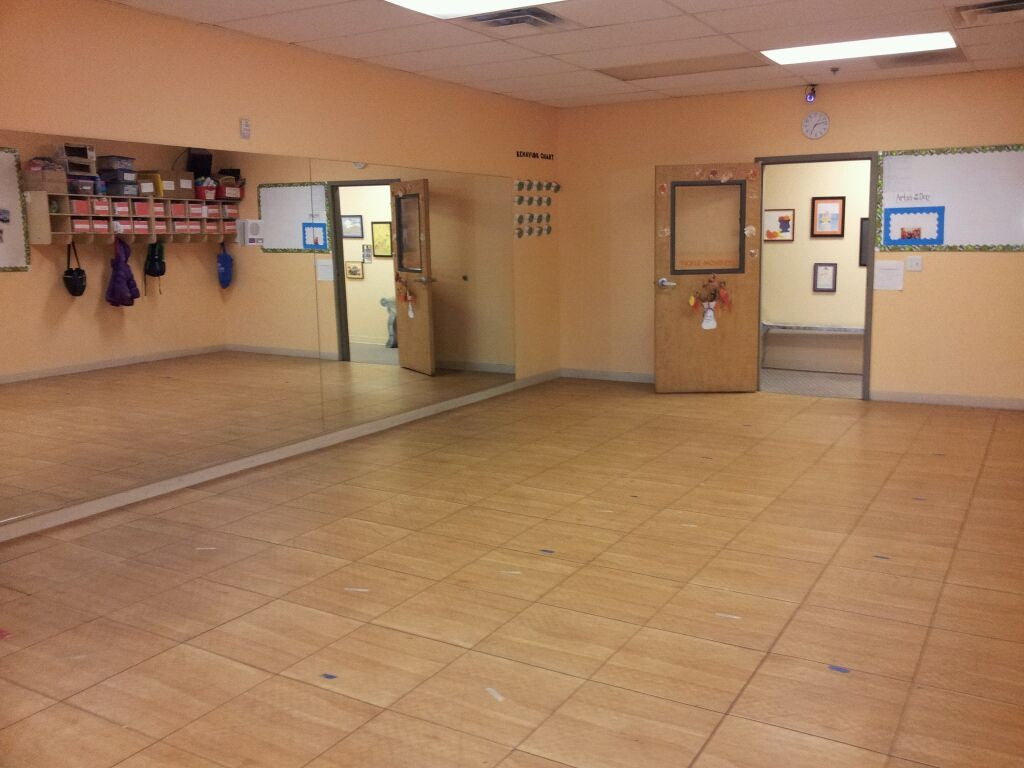
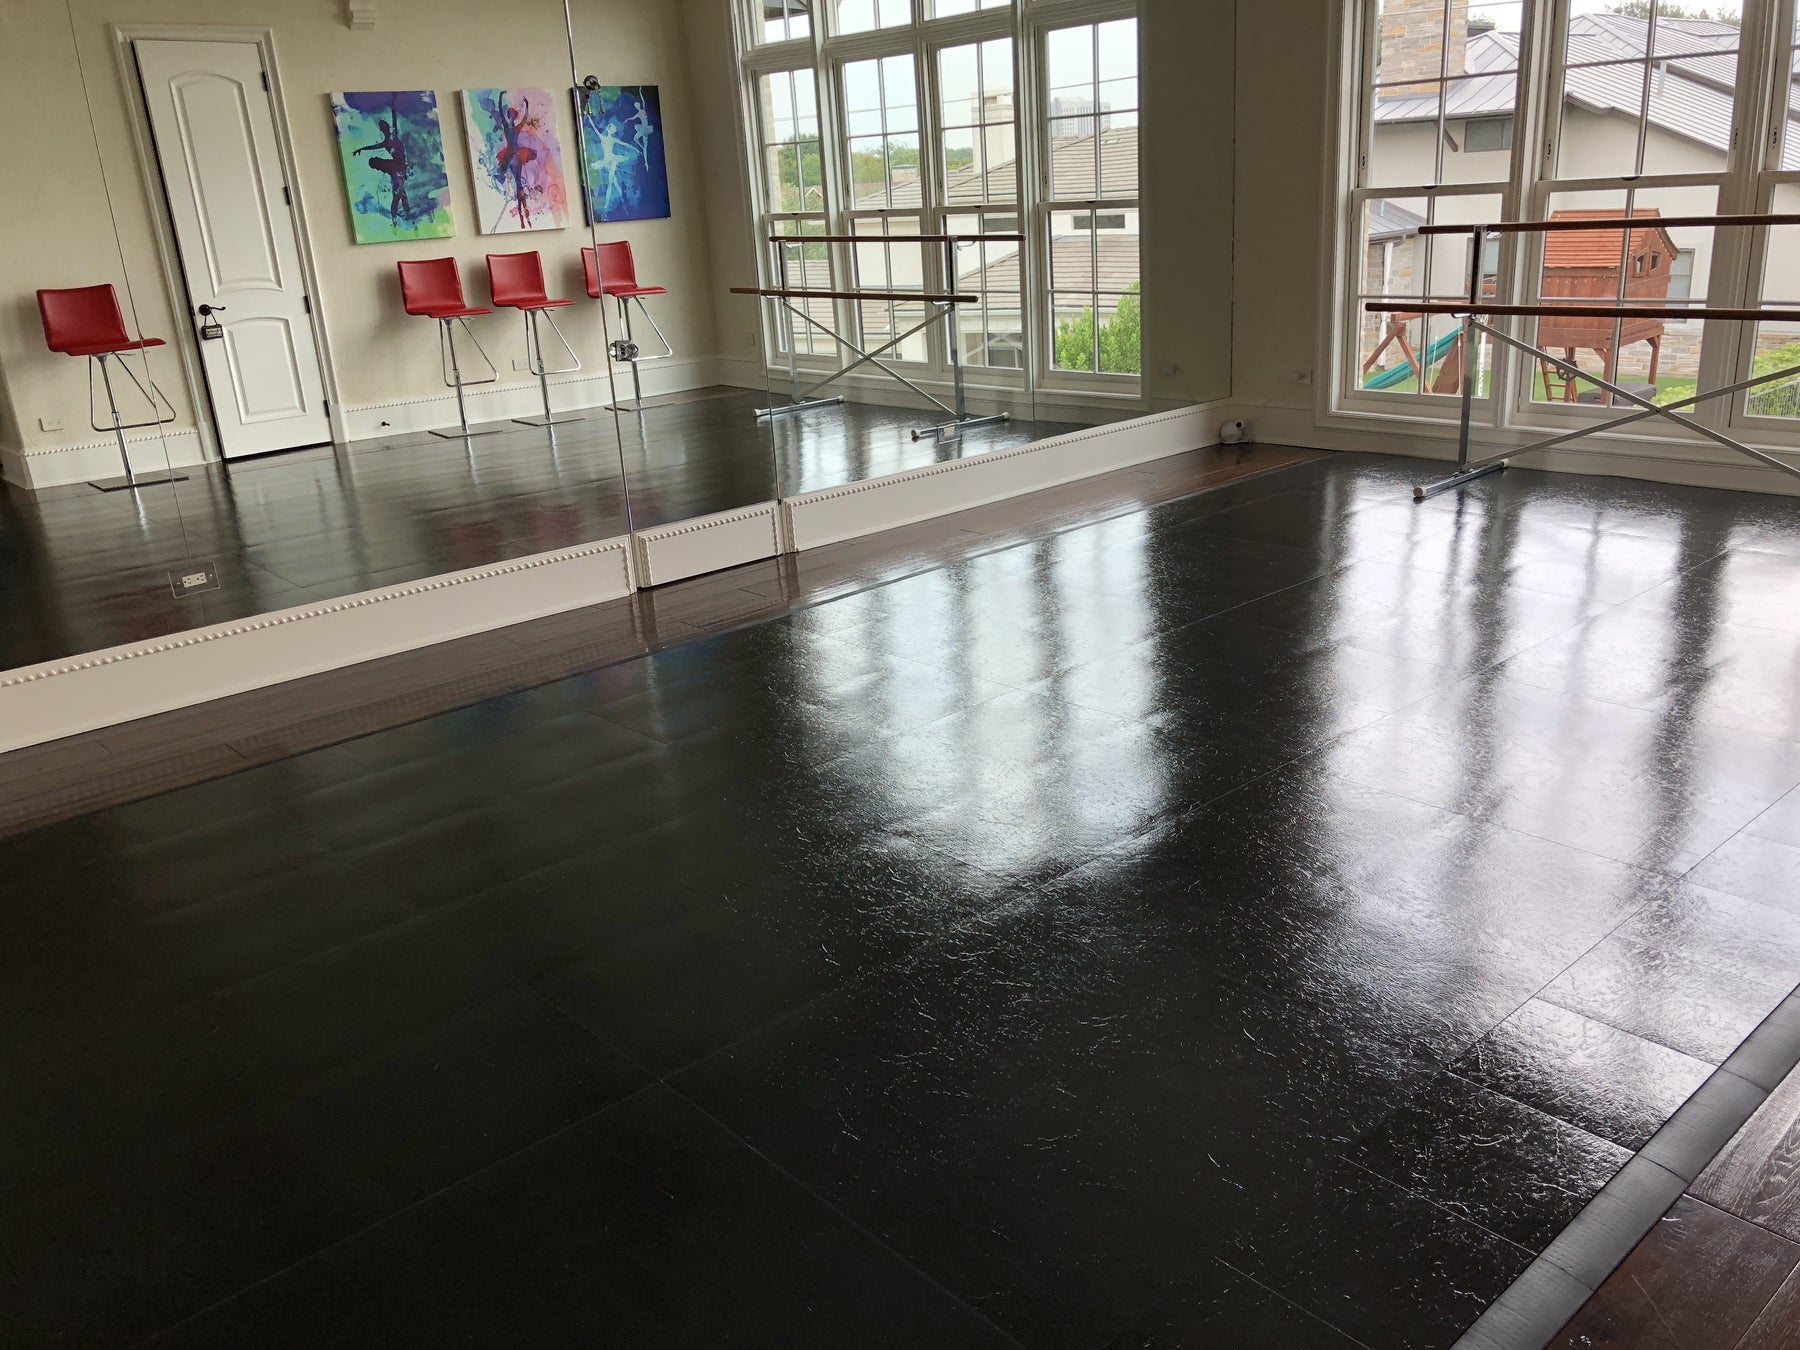
Can you share photos of the area where it would be installed?
Will you be requiring a storage cart for storage/transport? If so, please keep in mind that the storage cart is 38”x38” should you need to measure your doorways.

From Setup to Showcase
Simplifying Dance Floors

Regardless of your venue's terrain - be it grass, sand, or any solid ground, our dance flooring has been meticulously crafted to transform any space into a vibrant dance floor in an instant. It showcases the perfect fusion of form and functionality, combining an easy, tool-free assembly process with a durable, all-weather design that stands up to the most rigorous dance routines.

with EASY TO INSTALL
INTERLOCKING PANELS
YOUR FLOOR READY IN MINUTES!

Add edge pieces to your order and complete your dancefloor

Floor Setup Simplified: Just 4 Steps

Step One

Begin the installation by laying down your first panel in any one corner and pointing the female PowerLocks in the two directions that additional panels are to be added.

Step two

Place the next panel so that the male PowerLock line up over the top of the female loops on the first panel. It’s important to make sure that the female PowerLocks are facing exactly the same direction as the first panel.

Step Three

Gently step along the joint of the two panels. You will hear and feel the PowerLocks snap into place as you go.

Step Four

Once the two panels are joined, repeat steps one through three remembering to keep the female PowerLocks aligned until your floor is complete.

That’s all there is to this easy-to-install flooring!

Where Convenience Meets Performance

Dance Floors Made Easy

Recently viewed